 Kettle Tools
First
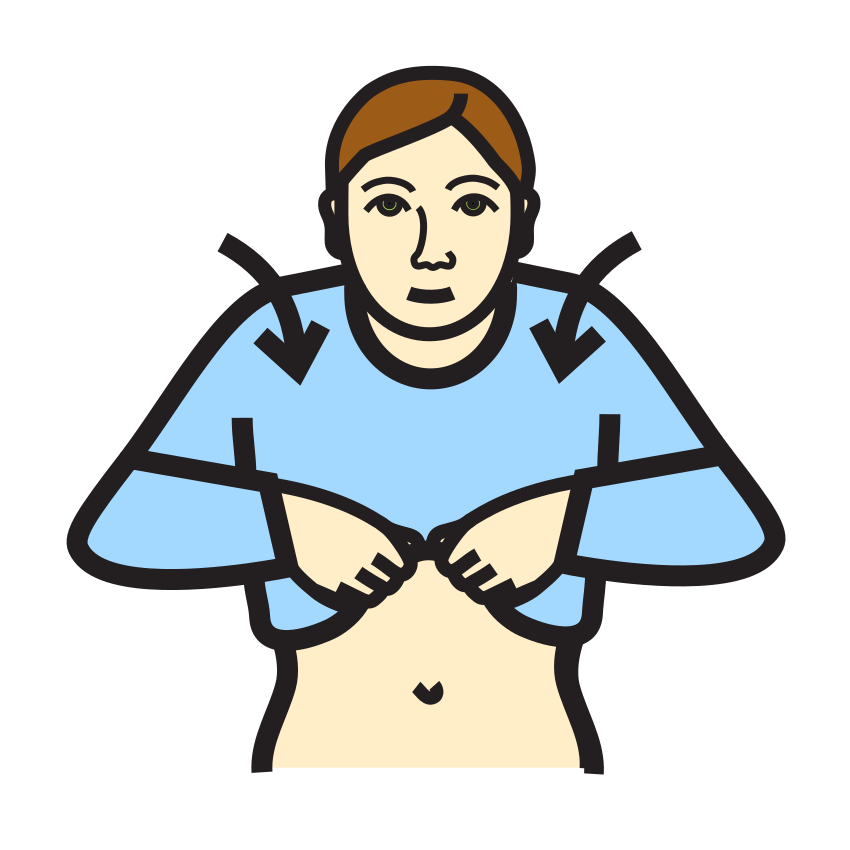
Get dressed
Make a two or three panel first then board with editable English or Spanish headings, symbols or local photos. Print a board and spare cards.
Print at 100% / Actual size. Edit labels, choose a symbol, or add a photo to each card. Photos must be re-added after reloading or sharing. Symbols are unmodified; black and white uses a display filter.
Get dressed
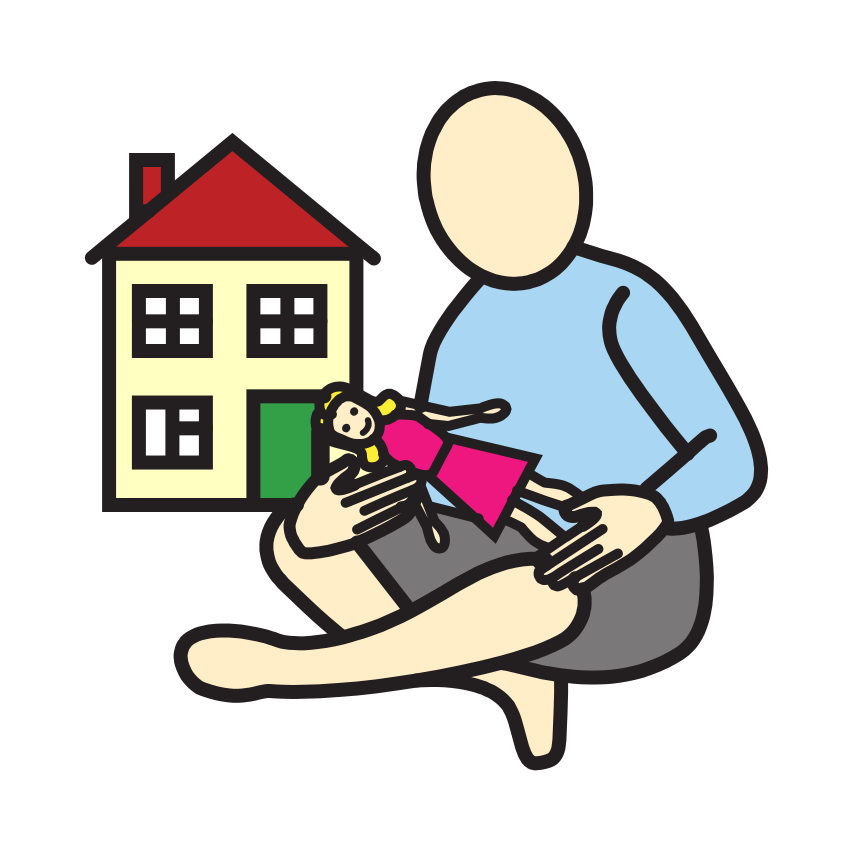
Play
Symbols: Mulberry Symbols by Steve Lee, licensed CC BY-SA 4.0 — mulberrysymbols.org · Print at 100% / Actual size
Get dressed
Play
Symbols: Mulberry Symbols by Steve Lee, licensed CC BY-SA 4.0 — mulberrysymbols.org · Print at 100% / Actual size
Symbols: Mulberry Symbols by Steve Lee, licensed CC BY-SA 4.0 — mulberrysymbols.org
A first then board shows a short sequence without displaying a whole day of activities. Choose two panels for “First” and “Then”, or three for “First”, “Next”, and “Then”. Begin with a sequence that is already familiar, such as putting on shoes and going outside. Talk through the pictures together before using the board during a busy transition. The point is to make the plan visible and understandable in that particular moment.
Edit each heading and activity label independently. The Spanish preset supplies “Primero” and “Después” for two panels, or “Primero”, “Luego”, and “Después” for three. These headings are a starting point; change them to the words used by your family or classroom. A bilingual adult who knows the child can help choose wording that sounds natural. Keep activity labels brief enough to read at a glance without removing the meaning of the task.
Choose an icon for each panel using the searchable Mulberry picker. Arrow keys move between symbol choices and Enter selects one. You can instead upload a local photo of the actual activity, object, or place. Use a tightly framed photo with one main subject. Each panel’s label also becomes the accessible description of its picture. If the image needs a different explanation, edit the label to make the meaning clear to someone who cannot see it.
Choose landscape for side-by-side panels or portrait for a stacked sequence. Select Letter or A4 and use the same paper in the print dialog. Set scaling to 100 percent or actual size and disable the browser’s own headers and footers. The preview includes the main board and a spare-card sheet. Print both when you want interchangeable pictures, or select the needed page in your browser’s print dialog. Check a paper draft before preparing permanent materials.
The spare sheet repeats the current activity pictures with cut lines so replacements are easy to make. Laminate the board and spare cards following the material manufacturer’s directions, then trim while leaving a sealed border. Keep sharp tools and hot equipment under adult control. Put hook and loop dots in the same position on each panel if cards will be removable. Store spares in a labelled envelope so a missing picture does not interrupt the routine. Leave the symbol attribution attached to each sheet.
Use the two-panel board when only the immediate transition matters. Add a middle panel when an extra step needs to be shown, rather than adding detail just because there is room. If the child repeatedly asks what comes later, a longer visual schedule may be a better format. If the board feels crowded, remove the middle panel and return to a shorter sequence. Match the amount of information to the person and the setting.
Initially, an adult may point to each panel and describe the activity. Later you can pause to let the child refer to the board independently before offering the same reminder. Do not rush to remove a board that someone still likes using. Visual information can remain useful even after a routine is familiar. When plans change, explain the change and update the relevant picture. Avoid presenting a later activity as guaranteed if it depends on weather, transport, or another uncertain event.
One common mistake is using the first panel for a long or vaguely defined demand. “Get ready” can hide many separate actions. Try a smaller, observable step or switch to a schedule that shows the whole routine. Another mistake is leaving yesterday’s pictures on the board. Check the labels and order before each use. A board is most useful when it describes what will actually happen, including breaks and changes that the child has helped choose.
Keep the board available at eye level and within a comfortable viewing distance. If the child does not recognise a symbol, try a photo or demonstrate its meaning in context. Avoid treating the sequence as a reason to postpone essential needs or ignore distress. This is a support tool, not therapy, and it makes no medical, diagnostic, or outcome claims. Work with the child’s teacher, BCBA or OT to adapt it to an existing communication or classroom support plan.
Photos stay on your device and are drawn on local canvases. They are not sent to a server or saved between visits. Board settings, headings, labels, and icon choices are saved in this browser’s localStorage. A reloaded photo panel asks you to re-add its image. Share links contain non-photo state in the URL hash; a recipient can read the headings and labels, so avoid personal details. PNG downloads include the current photos and should be stored or shared with the same care as the originals.
Yes. Choose three panels. Each panel has its own heading, label, and picture; switch back to two panels for a shorter sequence.
Yes. The Spanish preset offers Primero / Después or Primero / Luego / Después. You can edit each heading to match your preferred wording.
Yes. Select Portrait to stack the panels. Landscape puts them side by side. Match Letter or A4 in the browser print dialog.
It repeats the current activity cards with cut lines. Print it for replacements or removable cards, and retain the attribution footer when sharing sheets.
Yes. Add local photos to the panels. Photos are drawn on canvas on your device and need to be re-added after a reload.
No. It is a way to display a short plan. Work with the child’s teacher, BCBA or OT when deciding how to use it within a support plan.